Ceiling Drywall Repair Services Overview
Visitors can learn about local drywall repair contractors and how they handle ceiling drywall restoration projects.
- - Residential homeowners seeking to repair ceilings damaged by leaks, cracks, or water stains.
- - Commercial property managers needing timely drywall repair services for office or retail spaces.
- - Contractors looking to connect with local drywall repair specialists for ongoing or project-based work.
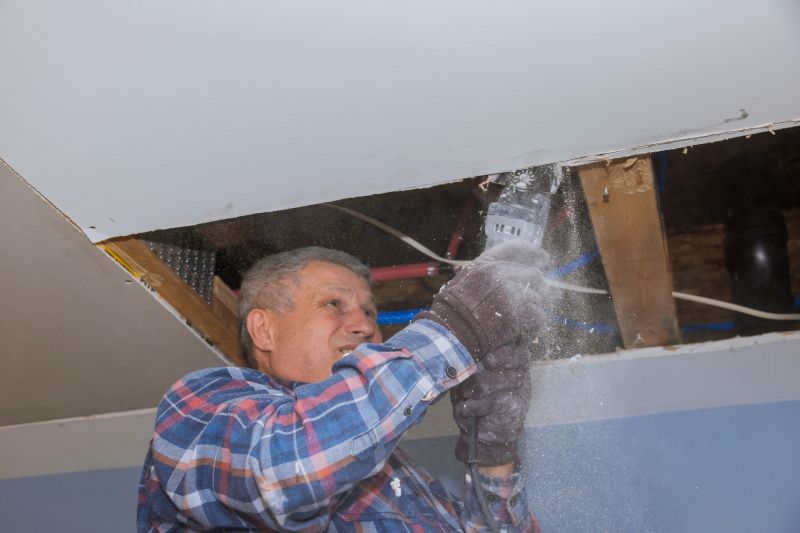
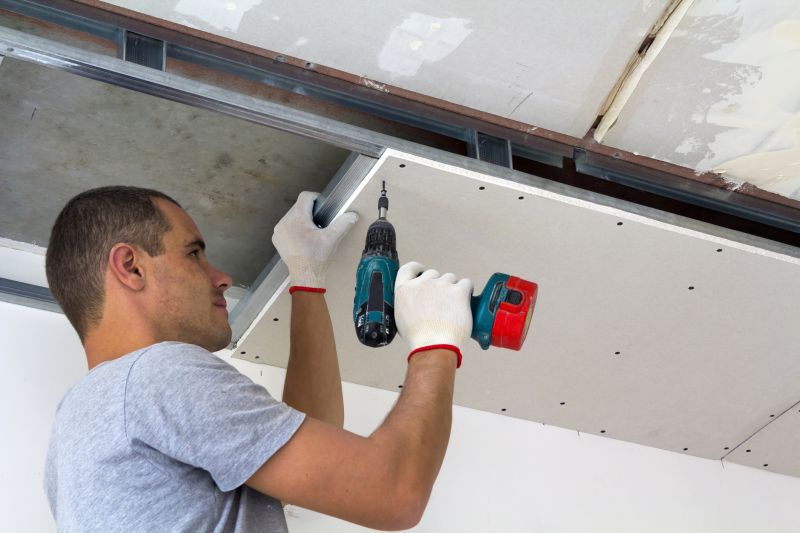
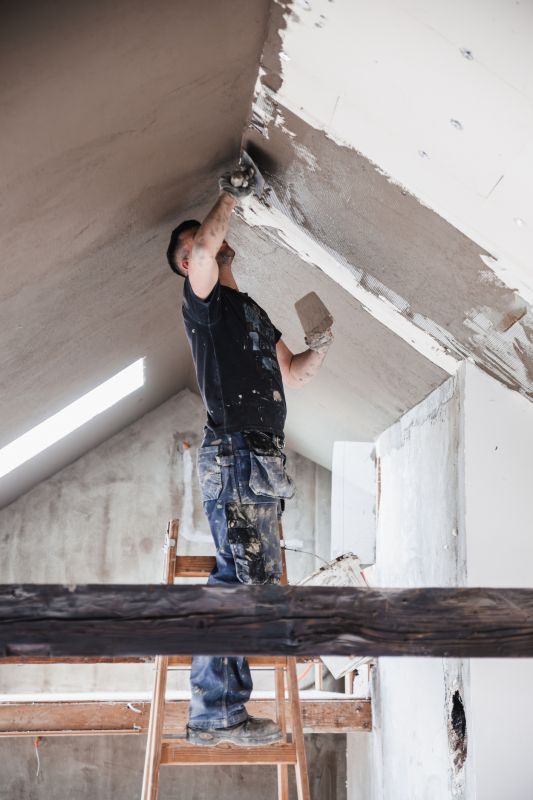
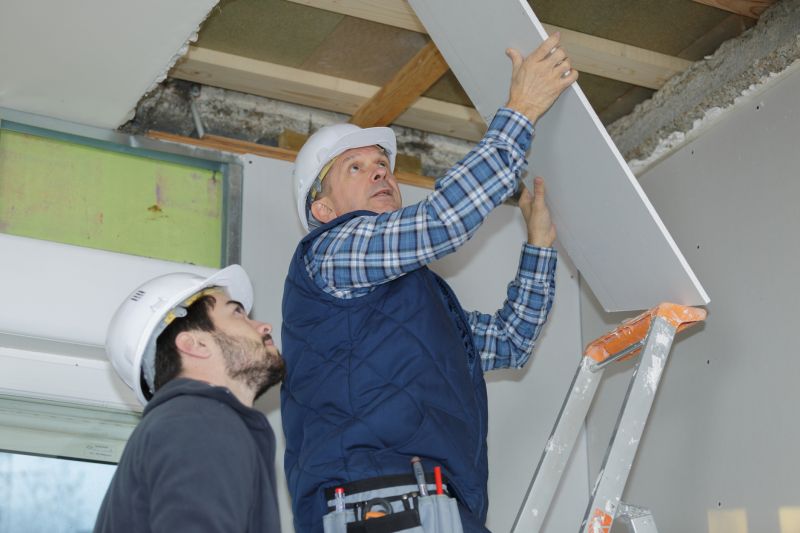
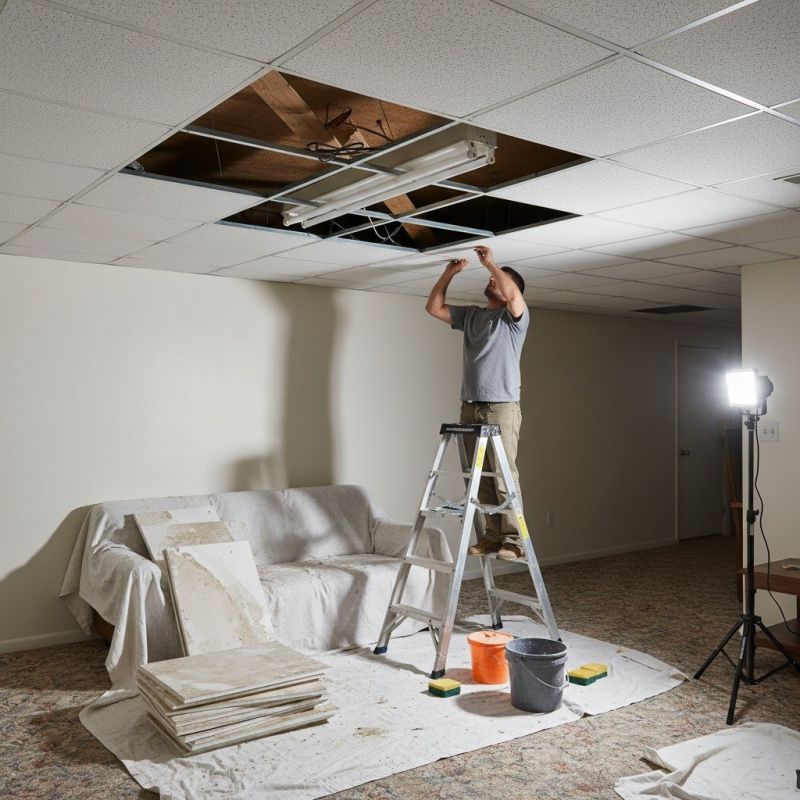
Ceiling drywall repair services are essential for addressing issues such as cracks, water damage, holes, or sagging ceilings that can occur in residential or commercial spaces. When these problems arise, property owners often seek assistance from local contractors who specialize in drywall restoration. These professionals evaluate the condition of the ceiling, prepare the area, and perform repairs that help restore the appearance and structural integrity of the surface, ensuring it looks seamless and is safe for occupancy.
Local service providers who handle ceiling drywall repair typically have experience working with various types of ceilings and damage scenarios. They may use a range of techniques, including patching, sanding, and finishing, to achieve a smooth, even surface. Property owners can expect these professionals to provide practical solutions tailored to the specific needs of their space, making it easier to maintain a clean and attractive ceiling environment.
This guide provides helpful information to understand the basics of ceiling drywall repair and what to consider when planning a project. It assists in comparing local contractors and service providers to find the right professional for specific needs. The content aims to prepare visitors with the key details needed to connect with qualified local experts.